Designed Stairs

Designed Stairs has the experience to design structural, open-riser staircases that are also beautiful works of contemporary art.

  • Benefits of Newel Posts Custom Made for Your Stair

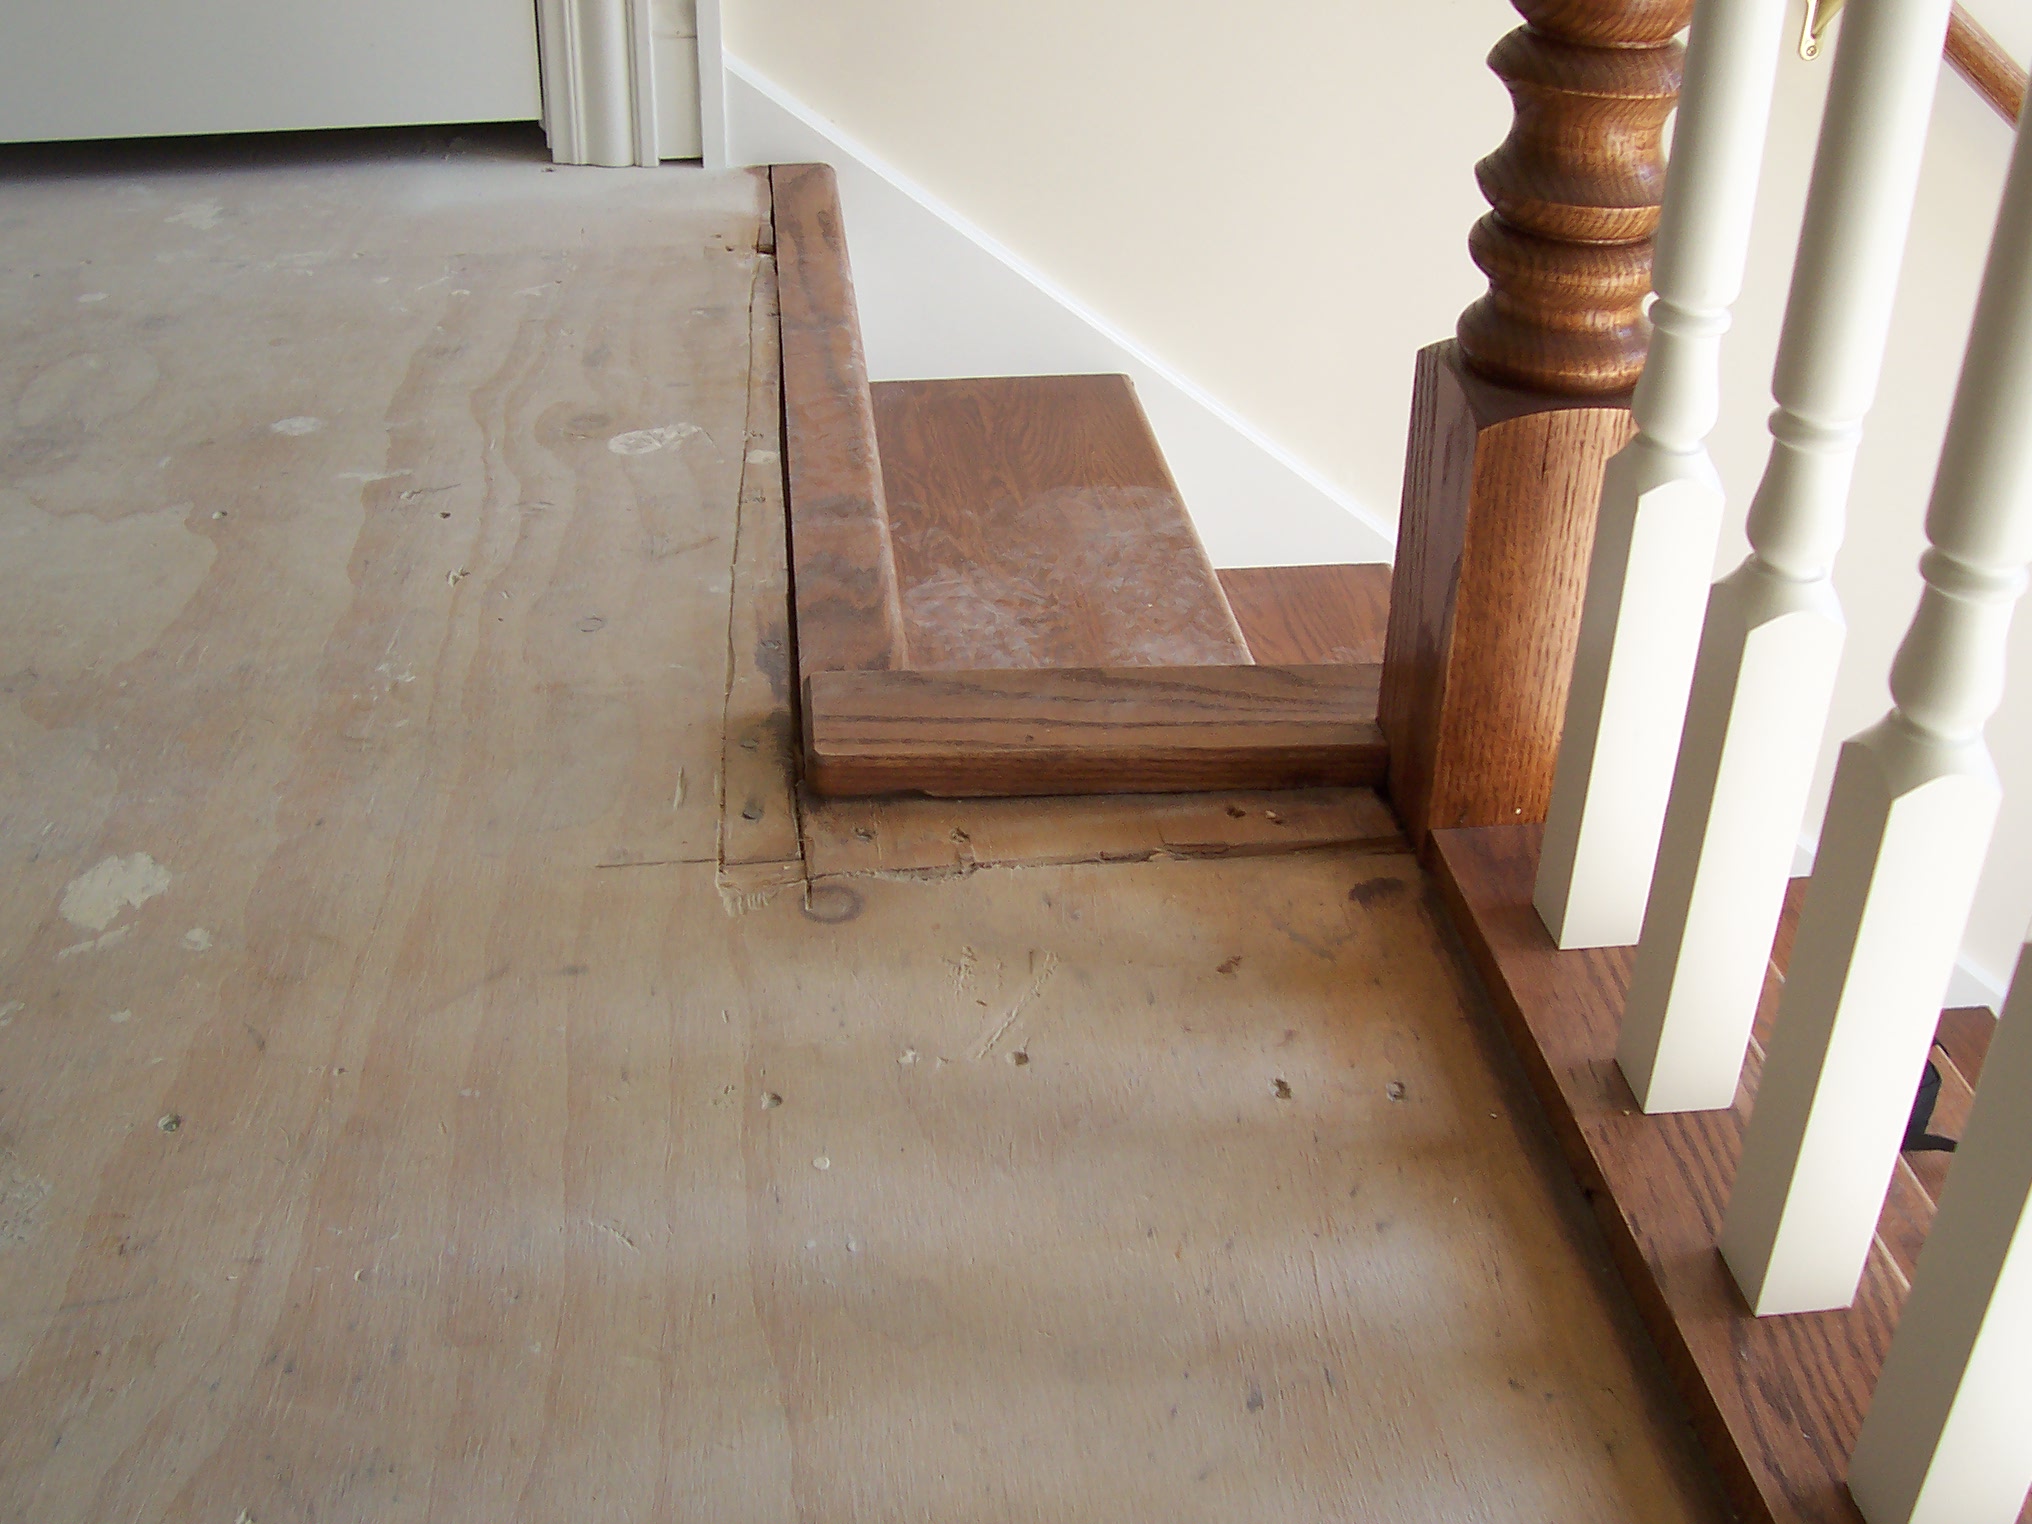
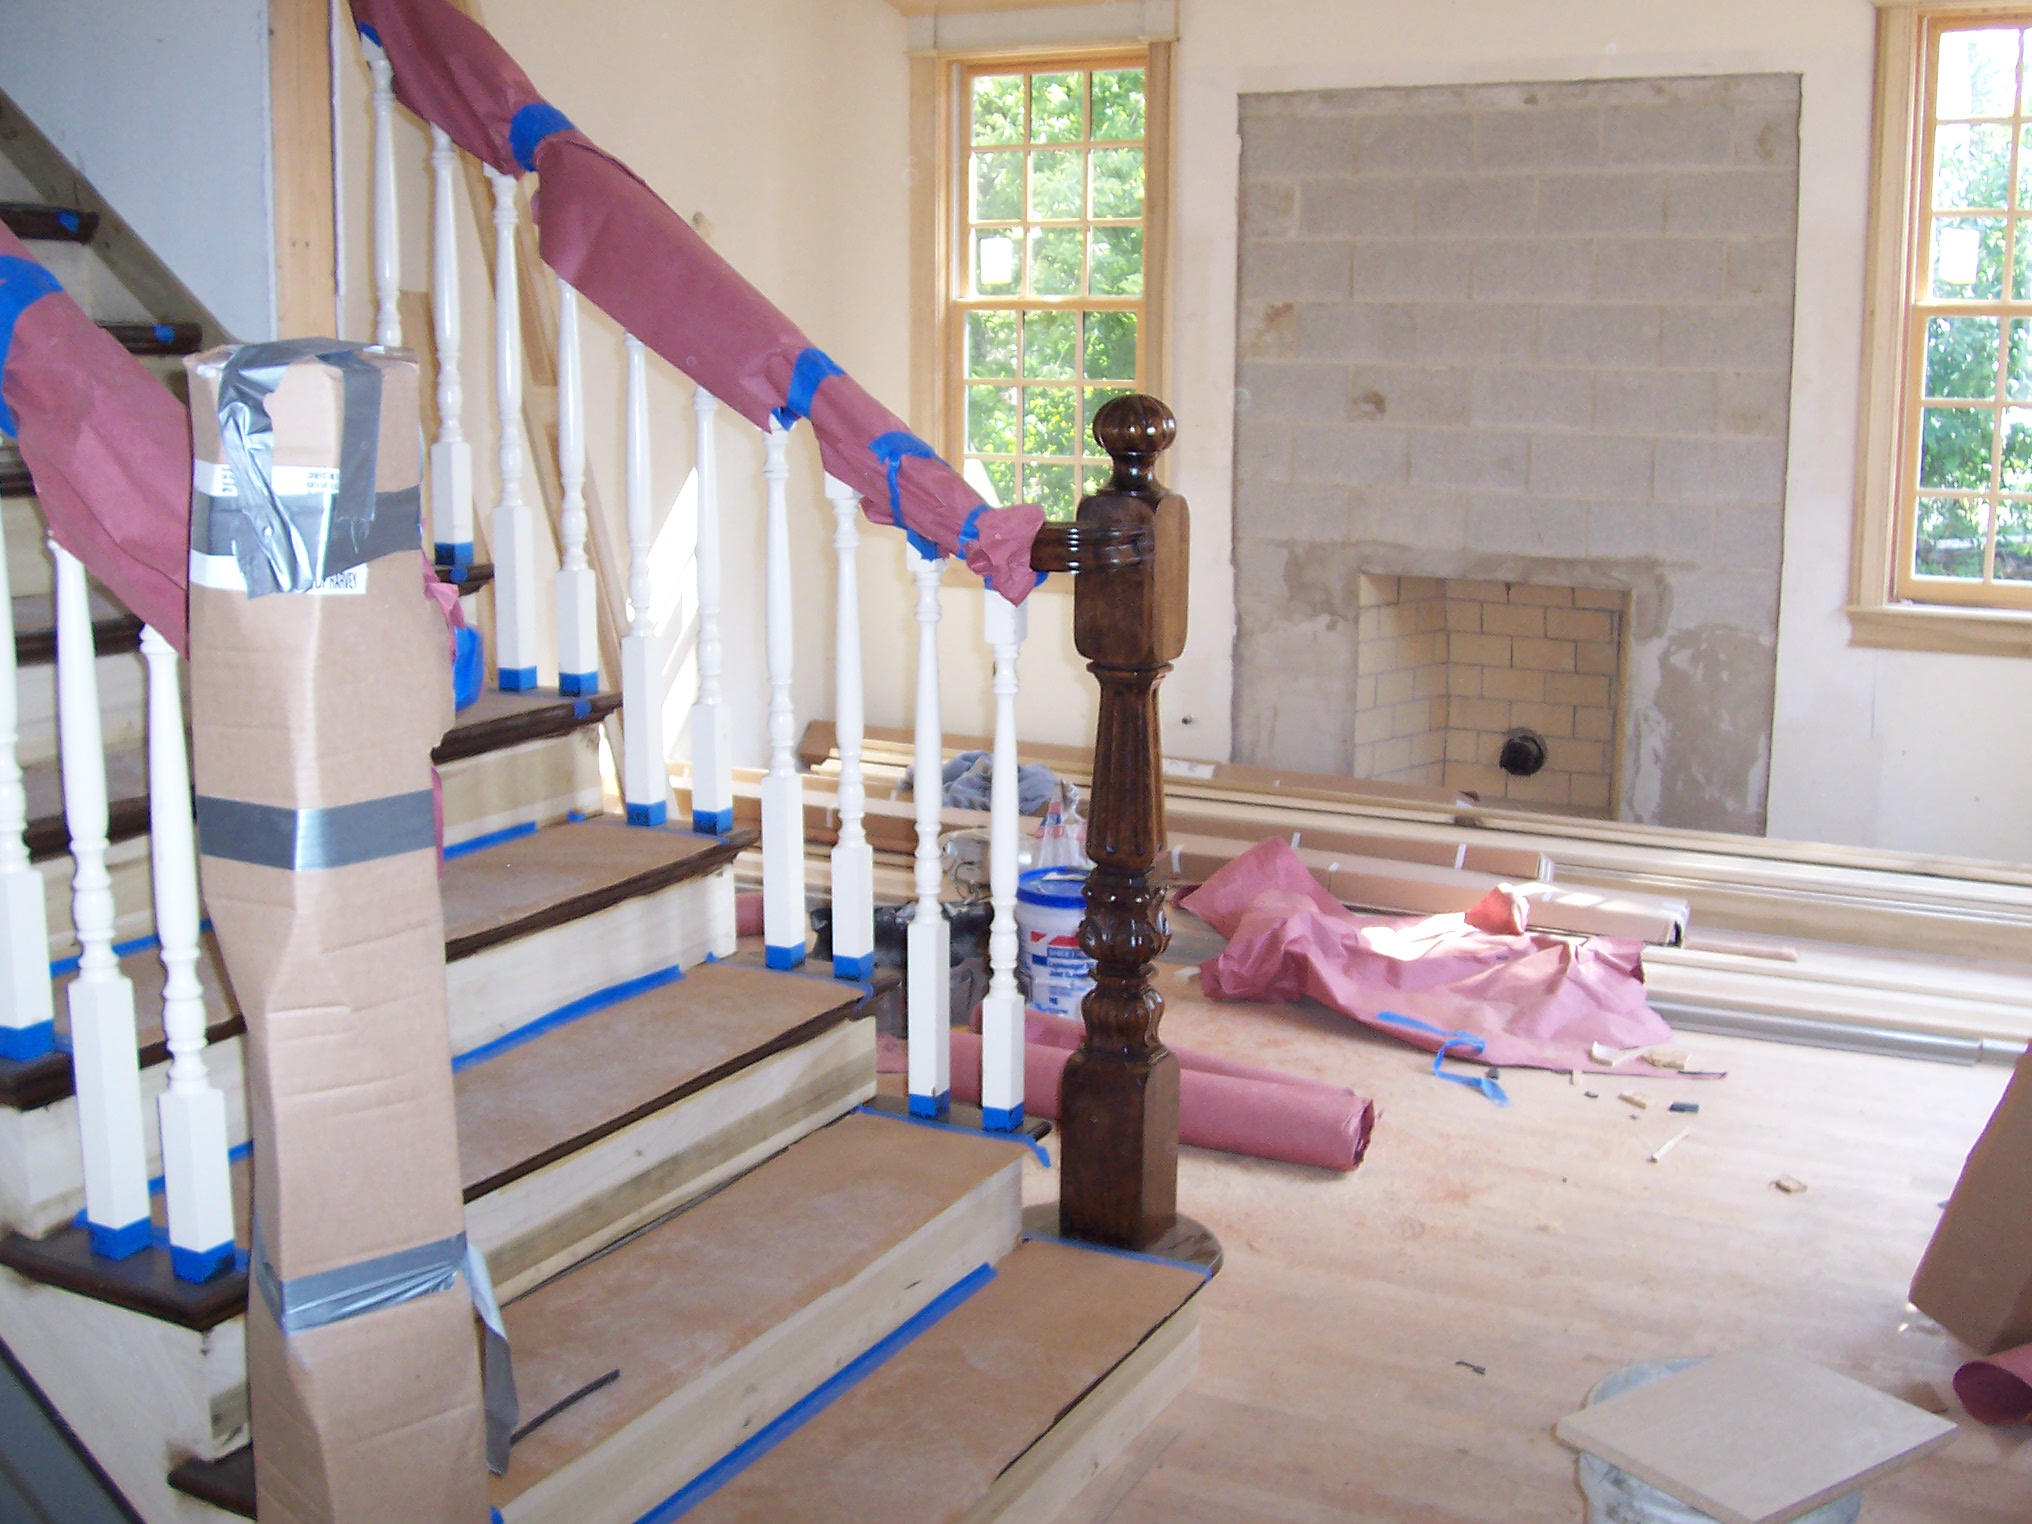
    You have probably seen these 4091 newels hundreds of times – we have. They are factory made and available a few lengths and few features. This picture shows the short comings of using an off-the-shelf newel like the 4091 as shown. The installer of this stair likely started with a pile of parts and then proceeded to figure out how to make them work in that situation. When you can’t get a newel in the length you need your choices are limited. The unfortunate result is a stained newel that appears to float in the air.
    The Designed Stairs difference is that all of our newels are made in-house for the specific location on your stair.  Newel posts are designed for specific locations being used.

    The panels on the newels are specifically sized to other connectoins (treads, rails) on the stair.
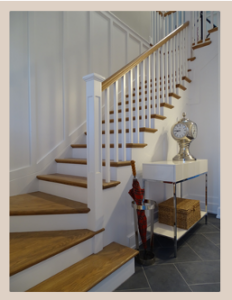
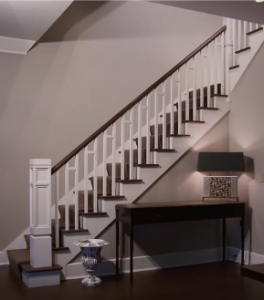
    Designed Stairs offers endless features and upgrades to your newel style to make them uniquely your own.

    designedstairs.com/stair-component-gallery-newels-wood-boxed.php

    designedstairs.com/components-newels-wood-boxed.php

  • Can Red Oak look like White Oak?

    red-oak-versus-white-oak

    Red Oak is generally more affordable than White Oak, prompting many to explore finishing techniques to achieve a similar look.

    At first glance, some Red Oak may resemble White Oak, but they have distinct differences. White Oak features a light brown hue, tighter grain, and greater density, while Red Oak has a red tint and a more open grain.

    Some red oak is more or less “red”.   Each piece of wood is unique, so results vary.

     One simple option is to reduce the red tint is using a stain with some gray in it.  This stain can help neutralize the red tones in Red Oak, making it look more like White Oak.  Minwax Weathered Oak is a good option.

    You can also lighten Red Oak using Zinsser Wood Bleach (A-B solutions) and enhance its appearance with various stains. The bleaching process can significantly reduce the red tones, allowing for effective color alteration.   

    If you have existing wood you want to keep, bleaching may be a good option. However, for new projects, starting with White Oak might be more cost-effective. Keep in mind the labor costs. Bleaching Red Oak for an interior project can nearly double your overall expenses.   

    If you’re seeking the look of White Oak, you’ll likely be happier with the final product if you choose White Oak from the start, but that does come at price. 

  • Will Designed Stairs provide nosing or should the flooring company provide nosing?

    Will Designed Stairs provide nosing or should the flooring company provide nosing?

    Nosing is required anywhere there is balustrade or newels.  Typically, nosing from a flooring company has a shorter overhang and does not have the space for trim under it.  Typical floor nosing overhangs 1-1/4”, whereas Designed Stairs nosing overhangs 1-3/4” to allow for trim under the nosing.  This includes apron and cove.  Designed Stairs provides all of the nosing where there is balustrade or newels so that the nosing and trim will match the stair style.  i.e., If the stair has square-nosed treads and square cove, the nosing, apron, and cove would also be square to match.

  • Should painted balusters be installed at the same time as the stair?

    Should painted balusters be installed at the same time as the stair?

    If you are buying a stair with balusters in a contrasting material, such as painted balusters on an oak stair, questions will likely arise regarding the finishing of the stair. “Should my painter finish the balusters separately from the stair, then have the balusters installed when the stair is finished?

    Here are some things to consider:

    • Your painter will generally opt for painting the balusters before installation. This allows them to be sprayed instead of brushed and eliminates a lot of “cut-in” work.
    • Painting balusters separately also means that the stair installers will have to come back to the site, remove the railings and install the balusters. There will be charge for this “second trip” to the job site. You will have to remember to schedule this “second trip” in coordination with the completion of the finish.
    • Leaving your balusters out for painting means that they are more likely to be lost or stolen during this time. You will be responsible for balusters left at the job site.
    • Once the painted balusters are finally installed, there will be additional “touch-up finishing required at the rail joints. Holes will have to be filled and stain and finish re-applied for the final finish.
  • Getting the Most from Your Stair Dollar

    Part 1 of 4 — Overview

    Milled stairs may cost from $2,000 for a hardwood stair with wall rails, to $200,000 on the high end.  Most of us are shopping in the $5,000–20,000 range.

    When designing your stair and railing plan, there are three basic factors to keep in mind in order to use your budget wisely: shape, style, and material.

    If you have the luxury of starting from the general shape of your stair (new construction in the blueprint design stage) consider the shape first.  If your space/shape is already defined, it may limit controlling that aspect of your budget, but there are still two aspects to consider.

    Which is more important to you: style or material?  If are you are dead set on walnut, you may need to look at mixing it with stocked poplar parts for balusters and newels. If you have a style you are set on, such as stainless cable, most of your budget will go to that, and you may consider a simpler oak stair.

  • Transforming Your Home by Installing a Hardwood Stair

    We get many calls where people no longer want carpet on their stairs and want to upgrade to a custom hardwood stair. What most people don’t realize is that stairs are a structural item. Stairs don’t come out easily. Replacing a stair is a real remodeling project and not just a decorating project.

    A first question is often “can you just leave in my stair and cover over it with hardwood?” In many cases we can (and sometimes we cannot). Realize there are down sides to covering an existing stair.

    Here is a short blog to explain some pros and cons to consider: Covering Stairs with Hardwood or Replace with New Stairs?

    Once you are committed to a stair replacement, here is an idea of what to expect. The old stair will be torn out and this usually means removing some drywall in the process. Consider hiring a contractor for the demo, new framing and drywall that is likely to be required. At times there are surprises at tear out such as plumbing, electric or duct work under the stair may need to be moved for a new stair design. If you are living in the house, schedule the tear out just a day or two before the new stair is installed. This will limit the time you do not have stair access to the 2nd floor. If you are not comfortable using a ladder for a day or two, consider sleeping elsewhere during the stair remodel. Once the new stair is installed, drywall has to replaced, taped sanded and painted. The stair will need to be stained/painted.

    Putting a new stair into your existing home will transform your home’s interior like few other things can.

    After hardwood stair replacement

    Before hardwood stair replacement